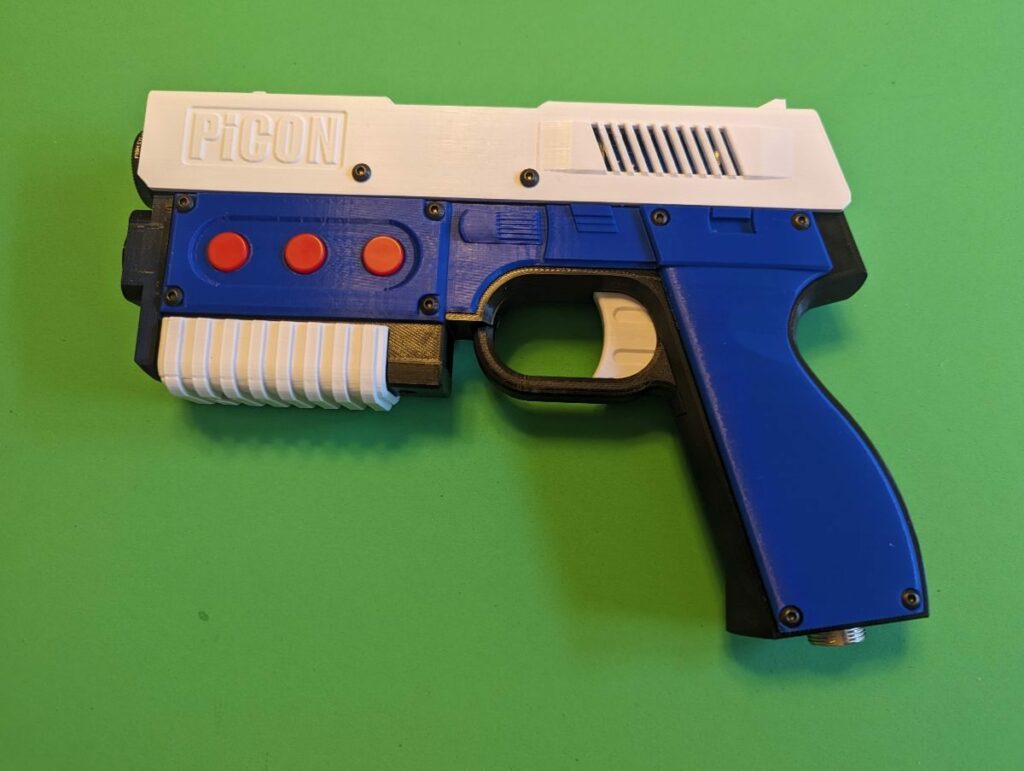
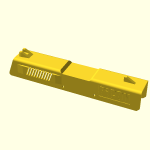
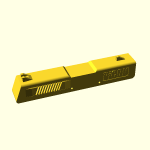
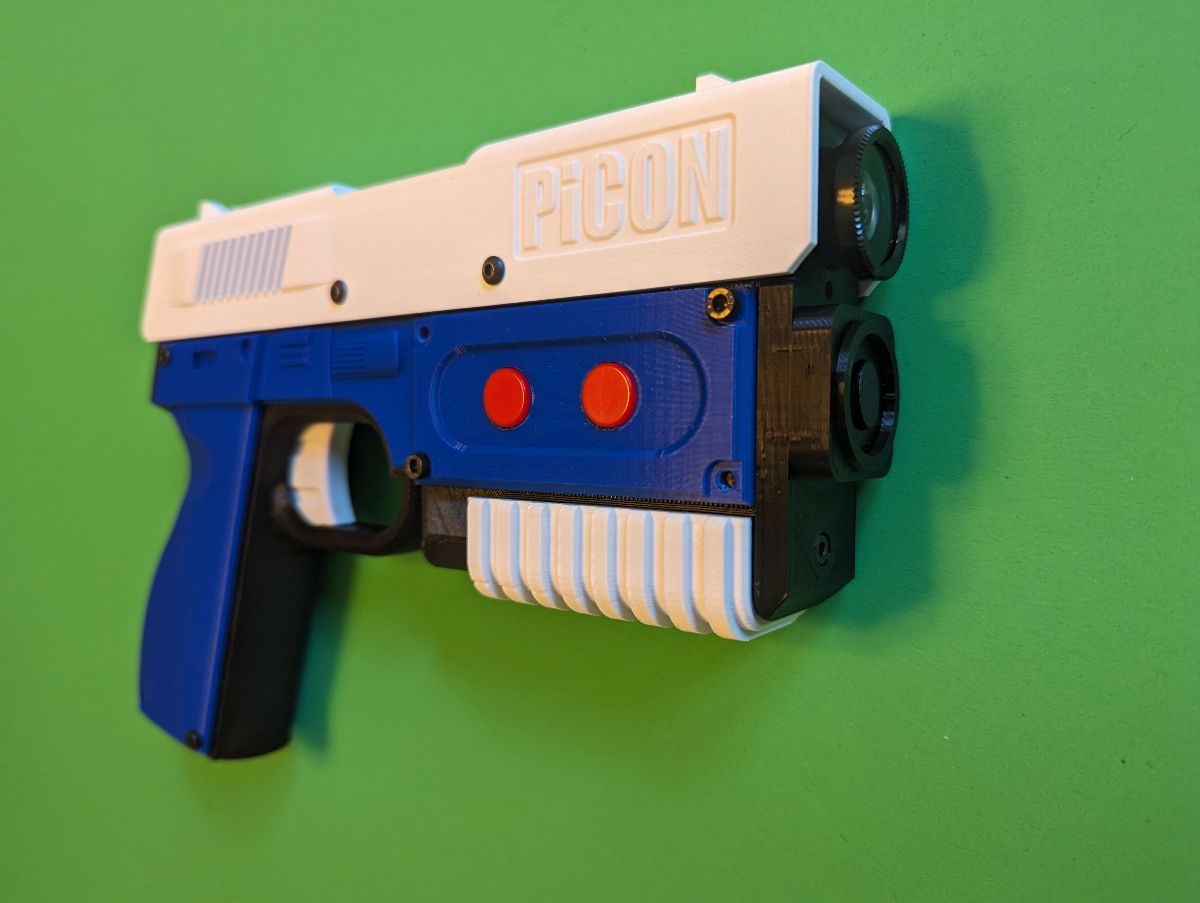
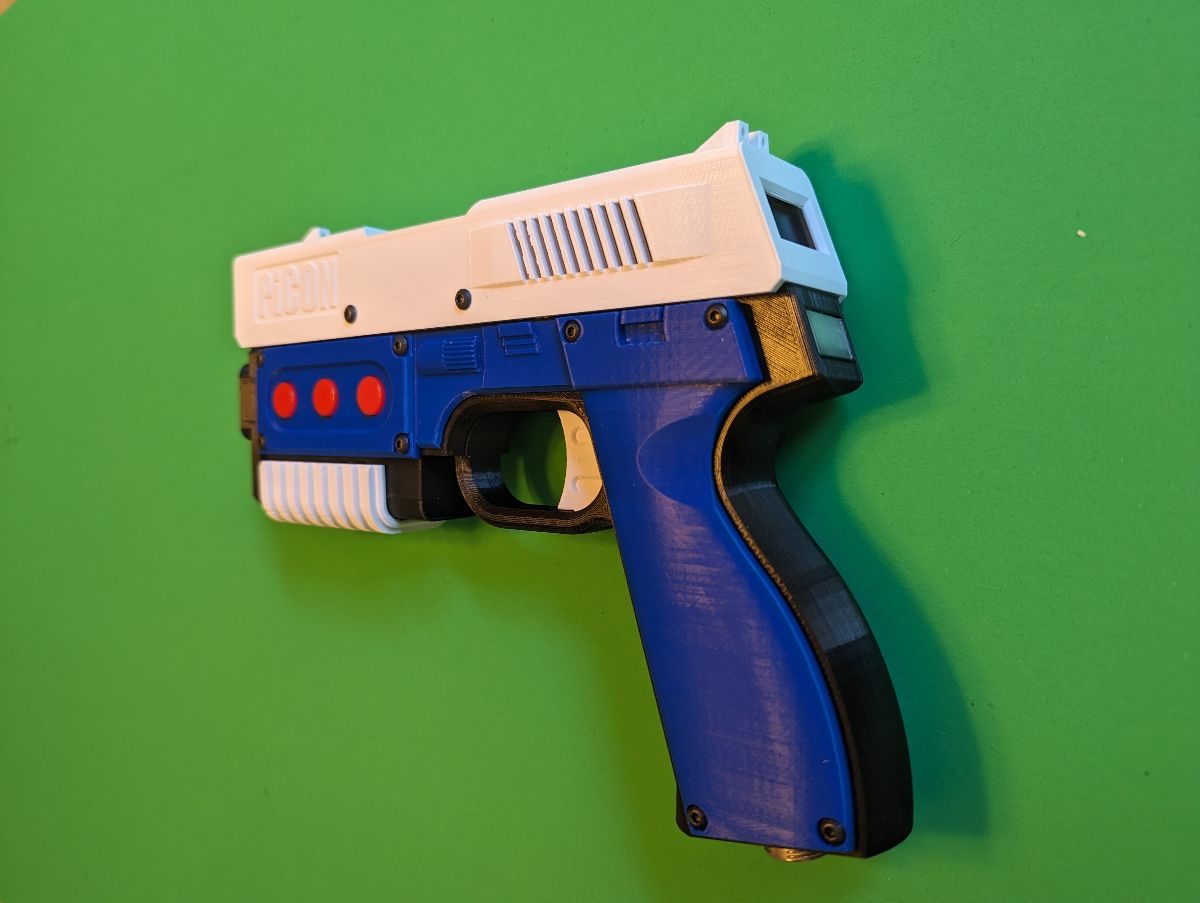
PiCON-OG
3D Printed Lightgun by iCON

Smaller, lighter version of the iCON featuring a sliding recoil, rumble motor, pump reload, analog joystick, 5-way navigation, OLED display, NeoPixel LED in back, accelerometer, screw in wide angle or fish eye lens connection. All parts (including the one-piece frame) can be printed on an Ender 3. The OLED, NeoPixel LED, accelerometer and analog joystick will only work with OpenFIRE firmware running on a Raspberry Pi RP2040 based microcontroller (Pico, Pico W, RP2040 Zero).
Click on the detailed description link to see a list of screws needed for this build.
A new version of the PiCON will be released soon with upgraded STLs to support OpenFIRE lightgun builds.
Attention TongLe Retro Games Store, Liuqing 001 Store, Double Dragon EX Store, Global – China Goods Store:
THIS PROJECT IS NOT FOR COMMERCIAL USE!
The author marked this model as their own original creation.
This work is licensed under a CC BY-NC-SA Creative Commons (4.0 International License)
Say thanks by giving iCON a tip! Why?
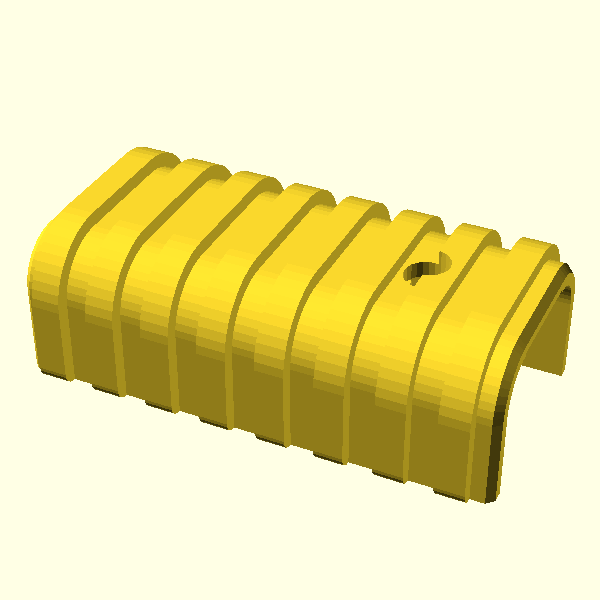
| Back Blank or Hidden RGB LED rev.2 by iCON on 09 Mar 2024 | Use this if you want a blank plate or a hidden RGB LED in the back of your PiCON. If you are going to use an RGB LED, consider printing this in clear or white filament so light can pass through it. Rev. 2 changes – made tabs on mount wider to avoid breaking, loosened tolerances so printed parts fit better. Suggested settings:
| 
|
| Back Exposed RGB Mount rev.1 by iCON on 07 Mar 2024 | Use this if you want to add an exposed 5mm RGB LED in the back of your PiCON. Useful if you are not printing this piece in clear or white filament. Suggested settings:
| 
|
| Back Switch rev.1 by iCON on 07 Mar 2024 | Use this if you want a small slide switch in the back of your PiCON. The switch can be used to turn solenoid on and off or to turn off a battery powered PiCON. Suggested settings:
| 
|
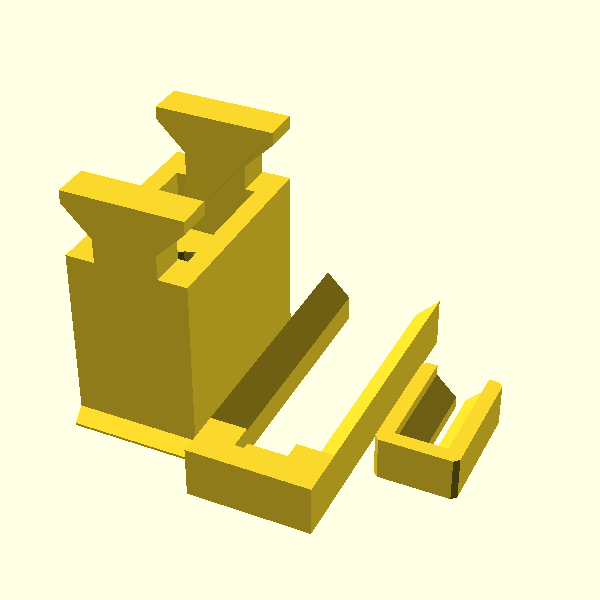
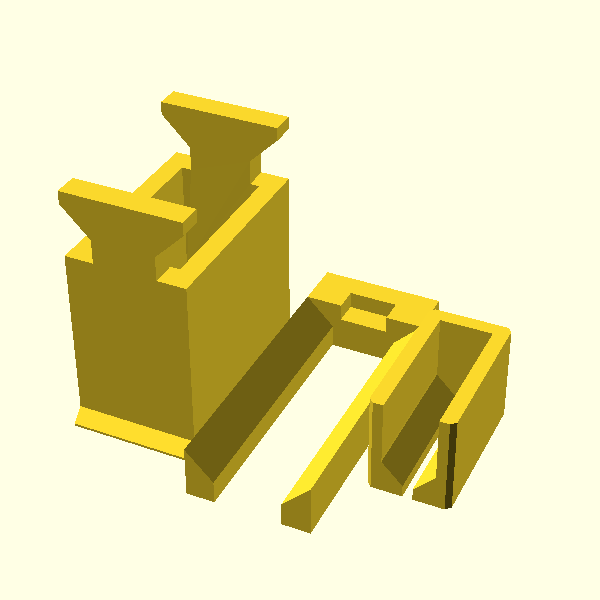
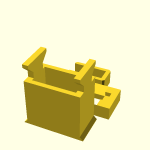
| Bearing-Solenoid Mount rev.1 by iCON on 06 Feb 2024 | Connects linear bearing to solenoid shaft. Suggested settings:
| 
|
| Bearing-Solenoid Mount -1mm Preload rev.1 by iCON on 12 Apr 2024 | Connects linear bearing to solenoid shaft. Adds 1mm of preload to the solenoid (if you are having trouble getting the solenoid to pull in). Suggested settings:
| 
|
| Bearing-Solenoid Mount -2mm Preload rev.1 by iCON on 12 Apr 2024 | Connects linear bearing to solenoid shaft. Adds 2mm of preload to the solenoid (if you are having even more trouble getting the solenoid to pull in). Suggested settings:
| 
|
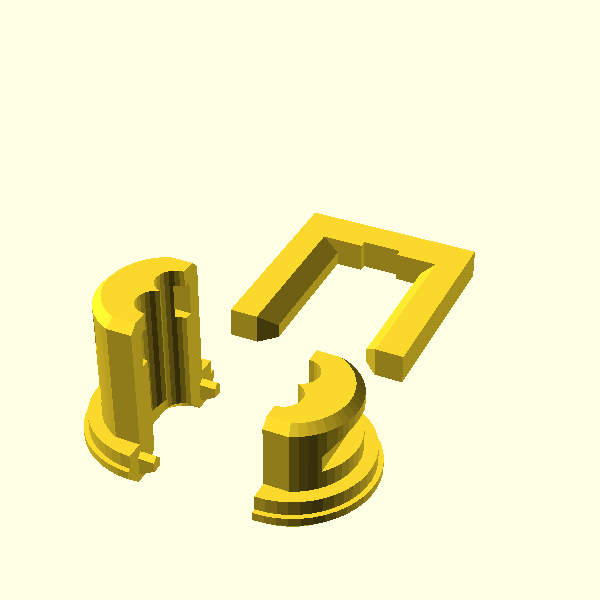
| Butt Plug rev.3 by iCON on 05 Apr 2024 | Snap it together, slide it in, pin it and enjoy! No, this is not a toy, it’s a plug that fits in the butt of the lightgun. If you would rather not solder wires to a GX16 connector and prefer to run USB and solenoid power cables out of the bottom of the grip. A zip tie secures the cables in place. You can always replace the butt plug with a GX16 connector at a later time. Suggested settings:
| 
|
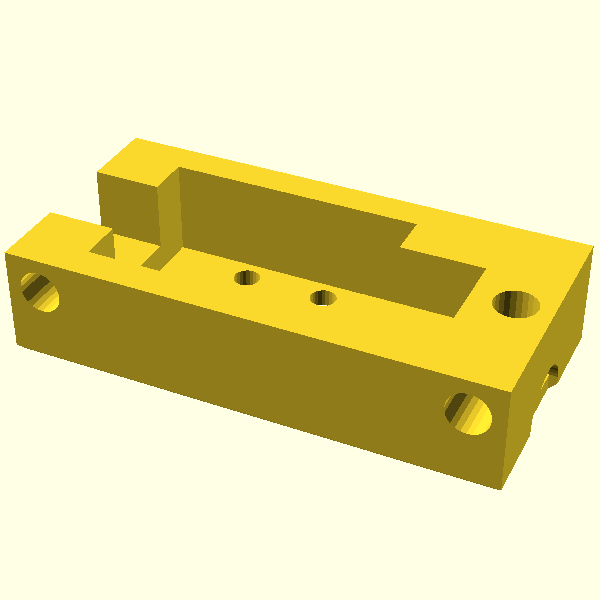
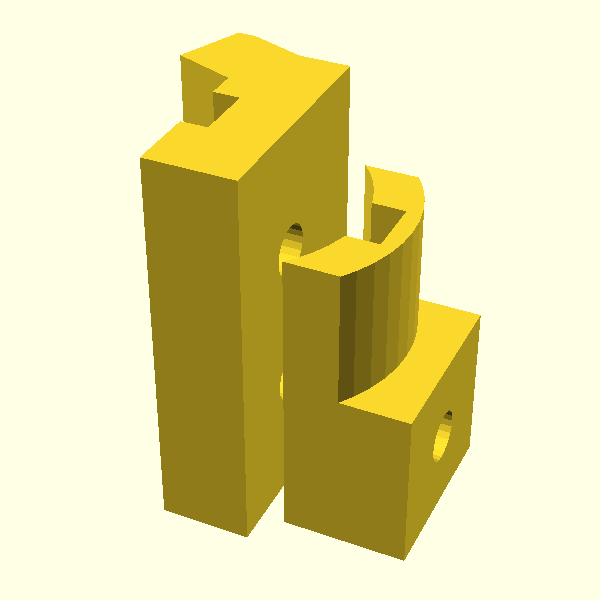
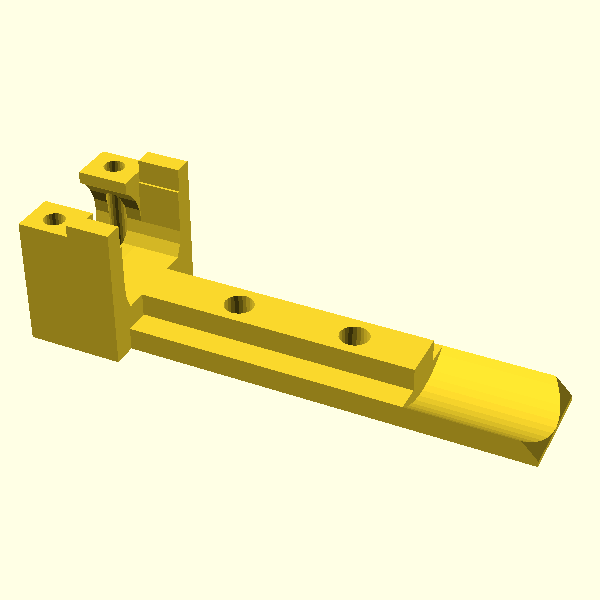
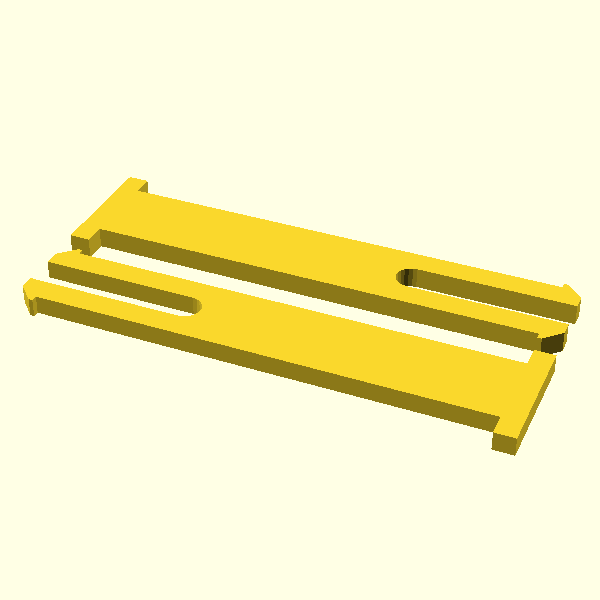
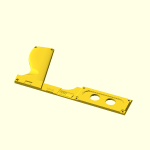
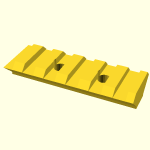
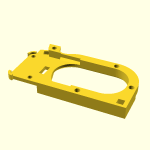
| Frame 40mm Bearing Rail rev.3 by iCON on 05 Apr 2024 | Use this frame with 40mm long bearing rails.
Rev. 2 changes:
– new heat set inserts in top of frame for Picatinny rail support
– new heat set inserts in top of frame for solenoid noise dampening
– new hole in butt of gun for 3.5mm stereo jack for single/dual-pedal input
– cutout in back of frame for solenoids with back pins
Rev. 3 changes:
– added reinforcements on one side
– removed cutout in back of frame so that an RGB LED can be used
– created hole in back of frame for gluing in an RGB LED to allow an RGB to be used at same time as brace Suggested settings:
| 
|
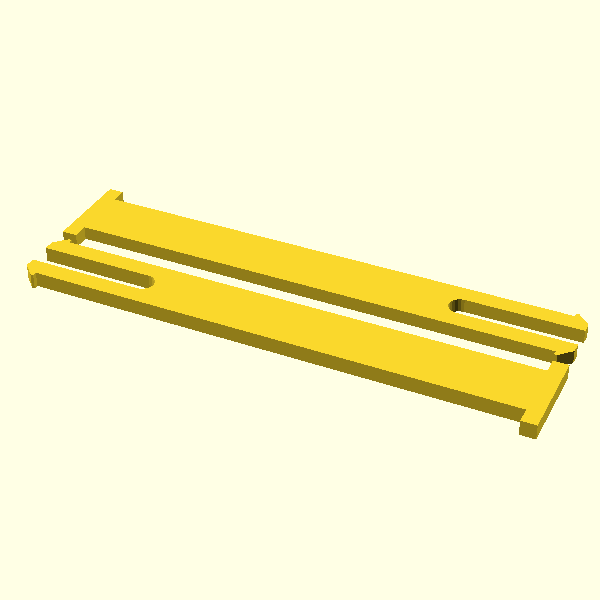
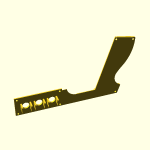
| Frame 55mm Bearing Rail rev.3 by iCON on 04 Apr 2024 | Use this frame with 55mm long bearing rails.
Rev. 2 changes:
– new heat set inserts in top of frame for Picatinny rail support
– new heat set inserts in top of frame for solenoid noise dampening
– new hole in butt of gun for 3.5mm stereo jack for single/dual-pedal input
– cutout in back of frame for solenoids with back pins
Rev. 3 changes:
– added reinforcements on one side
– removed cutout in back of frame so that an RGB LED can be used
– created hole in back of frame for gluing in an RGB LED to allow an RGB to be used at same time as brace Suggested settings:
| 
|
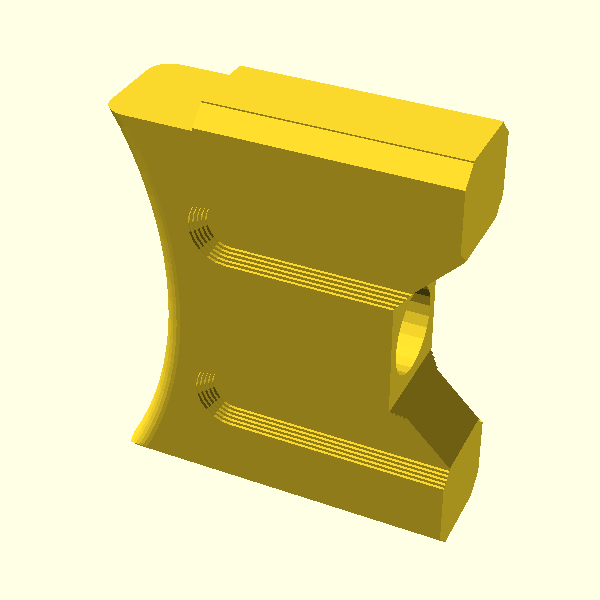
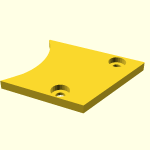
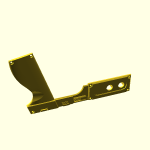
| Frame Brace rev.1 by iCON on 10 Mar 2024 | Prevents flexing of the grip Suggested settings:
| 
|
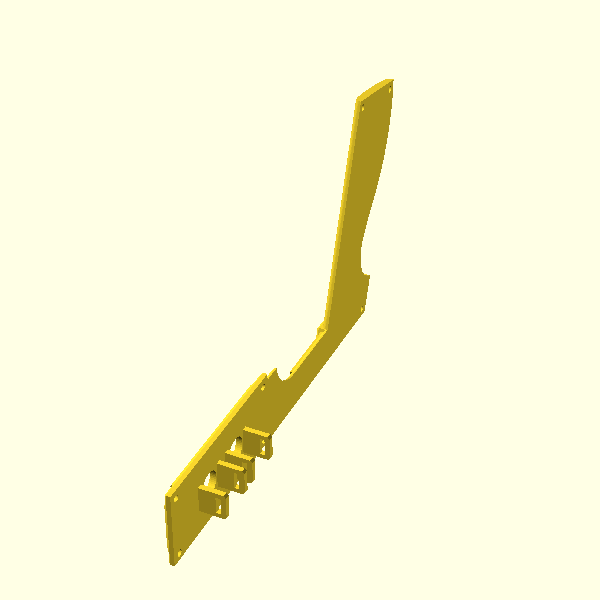
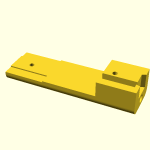
| Front rev.2 by iCON on 05 Apr 2024 | Can be used as-is or with a 12x12mm push button or analog joystick by knocking out the round circle.
Rev. 2 changes:
– made narrower near pump to prevent hitting the prior overlap with fingers when actuating the pump
– made a tad shorter on bottom (was a small unintentional overhang) Suggested settings:
| 
|
| Front 5-way Navigation rev.2 by iCON on 05 Apr 2024 | Use this Front if you want a 5-way navigation switch in the front of the lightgun.
Rev. 2 changes:
– made narrower near pump to prevent hitting the prior overlap with fingers when actuating the pump
– made a tad shorter on bottom (was a small unintentional overhang) Suggested settings:
| 
|
| Front Button Spacer rev.2 by iCON on 05 Mar 2024 | Use this if you are installing a pushbutton in the front of your PiCON. Rev. 2 changes:
– made thinner to prevent pushbutton binding Suggested settings:
| |
| Gun Sights 3mm LED Mounts rev.1 by iCON on 05 Apr 2024 | Suggested settings:
| 
|
| Left Side 2 Buttons rev.1 by iCON on 28 Feb 2024 | Suggested settings:
| 
|
| Left Side 2 Large Buttons rev.1 by iCON on 28 Feb 2024 | Uses the same large push buttons that the ODCON1 used. Suggested settings:
| 
|
| Left Side 3 Buttons rev.1 by iCON on 06 Feb 2024 | Suggested settings:
| 
|
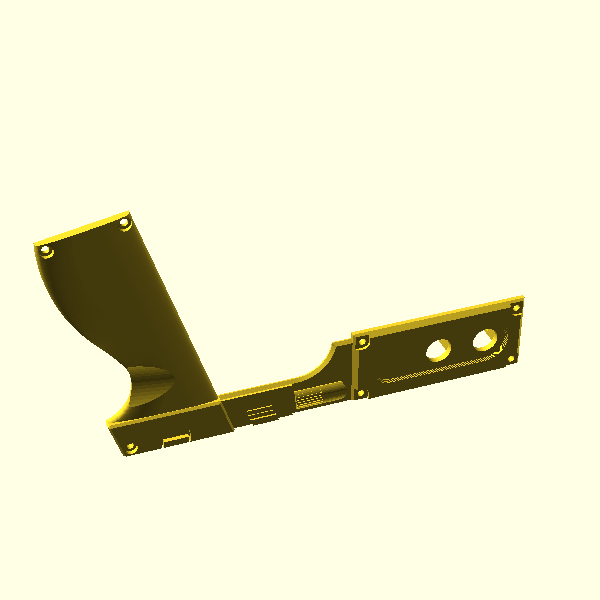
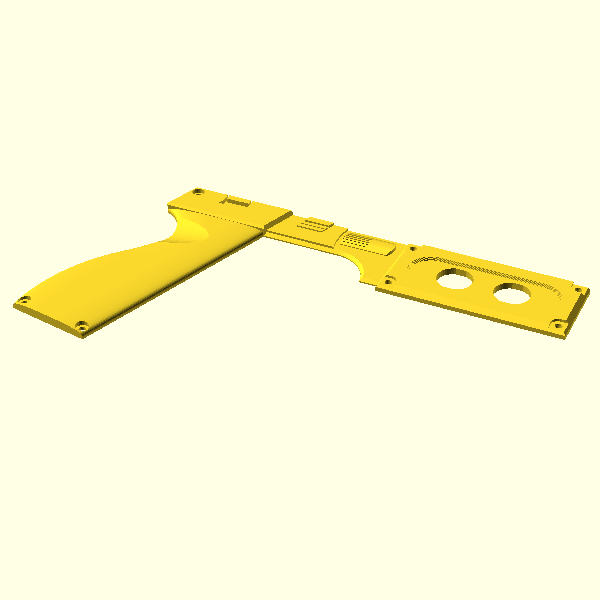
| Left Side for Universal PCB rev.1 by iCON on 06 Feb 2024 | Suggested settings:
| 
|
| Nav Module Buttons rev.1 by iCON on 12 Feb 2024 | Consider printing two of these on opposite sides of the print bed in order to give the part time to cool between layers. Suggested settings:
| 
|
| Picatinny Rail rev.1 by iCON on 05 Mar 2024 | Suggested settings:
| 
|
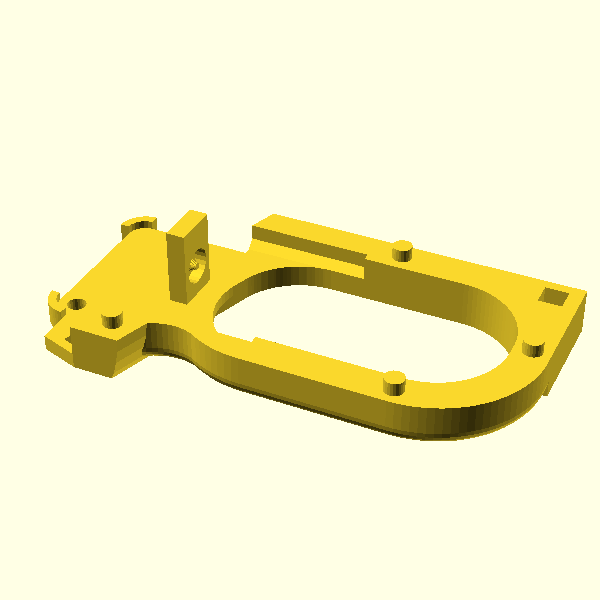
| Picatinny Rail Mount rev.2 by iCON on 05 Apr 2024 | Requires Frame Rev. 2 or later. Print using same color filament as your Frame.
Rev. 2 changes:
– added a little reinforcement to thin area over solenoid shaft
– tweaked a couple dimensions Suggested settings:
| 
|
| Pump rev.1 by iCON on 06 Feb 2024 | Suggested settings:
| 
|
| Pump Mount rev.2 by iCON on 05 Apr 2024 | rev. 2 changes:
– created relief hole behind heat set insert used to mount the Front so that a longer M3x8 screw can be used. Suggested settings:
| 
|
| Right Side 2 Buttons rev.1 by iCON on 06 Feb 2024 | Suggested settings:
| 
|
| Right Side 2 Large Buttons rev.1 by iCON on 28 Feb 2024 | Uses the same large push buttons that the ODCON1 used. Suggested settings:
| 
|
| Right Side for Universal PCB rev.1 by iCON on 06 Feb 2024 | Suggested settings:
| 
|
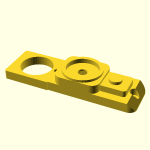
| Right Side Nav Module rev.1 by iCON on 06 Feb 2024 | Yeah, I know there’s a mesh error. Props to whoever finds it first! Prints fine though. Not compatible with Gun4IR Universal PCB. Suggested settings:
| 
|
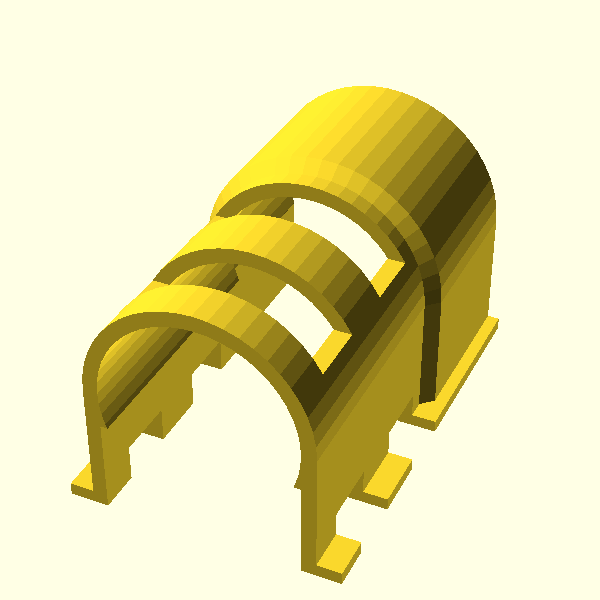
| Rumble Guard rev.2 by iCON on 05 Mar 2024 | Rev. 2 changes:
– made sides longer and wider to improve build plate adhesion and installation easier Suggested settings:
| 
|
| Side 2-Button Pins rev.1 by iCON on 06 Feb 2024 | One thick, one thin. To get the best fit. Suggested settings:
| 
|
| Side 3-Button Pins rev.1 by iCON on 06 Feb 2024 | One thick, one thin. To get the best fit. Suggested settings:
| 
|
| Slide OLED rev.1 by iCON on 04 Apr 2024 | Suggested settings:
| 
|
| Slide Picatinny OLED rev.1 by iCON on 04 Apr 2024 | Suggested settings:
| 
|
| Slide Picatinny Rail rev.1 by iCON on 05 Mar 2024 | Use this slide if you want to add a Picatinny rail to your build. Suggested settings:
| 
|
| Slide PiCON Logo rev.1 by iCON on 07 Mar 2024 | This version of the slide has internal supports that help keep prevent warping when printing horizontally. These supports can broken away after printing. Suggested settings:
| 
|
| Trigger rev.1 by iCON on 06 Feb 2024 | Suggested settings:
| 
|
| Trigger Guard Left rev.1 by iCON on 06 Feb 2024 | Suggested settings:
| 
|
| Trigger Guard Pins rev.1 by iCON on 06 Feb 2024 | Suggested settings:
| 
|
| Trigger Guard Right rev.1 by iCON on 06 Feb 2024 | Suggested settings:
| 
|
| Heat Set Insert: M3x5(OD)x6(L) Quantity: 25 (Required) | Be sure to order inserts with an actual outside diameter of 5.0mm | |
| Heat Set Insert: M2x4(OD)x3.5(L) Quantity: 2 (Optional) | Not required if you have M2 washers and nuts to use in place of these inserts | |
| Pen Spring Quantity: 1 (Required) | Fits between the trigger and the trigger guard. If you don’t have an old pen on hand, steal one from your dentist office 😉 | No Purchase Links Found |
| 5-way navigation module Quantity: 1 (Optional) | Can be used on side panel for up/down/left/right directional control. Pressing the center of the joystick can act as a function/mode/enter button. Two additional small buttons can be used as “Start” and “Select”. | |
| 5-way Navigation Switch Quantity: 1 (Optional) | If you want to put a 5-way navigational control in the Front of your lightgun, use this part. This device does not come with a button. You could buy the 5-way navigation module and use the button from it or model and 3d print a button. | AliExpress |
| Gravity IR Camera Part Number: SEN0158 Quantity: 1 (Required) | DFRobot DigiKey Farnell (UK) Newark | |
| LED: 3mm Quantity: 1 (Optional) | If you want illuminated gun sights on Gun4IR builds. | |
| LED RGB: 5mm, common cathode Quantity: 1 (Optional) | If you want to add an RGB LED in the back of your lightgun for visual effects | |
| Limit Switch Quantity: 1 (Required) | Used for pump action. | |
| Microcontroller: RP2040 Part Number: Pi Pico or Pico W Quantity: 1 (Required) | If you are building a PiCON that will run OpenFIRE firmware, you will need an RP2040 based microcontroller (do not use a 32u4 based microcontroller). The Raspberry Pi Pico or Pico W are recommended because they have 8 ground pins which minimizes the need to daisy chain ground wires. The OpenFIRE firmware does not currently take advantage of the wifi or Bluetooth capabilities of the Pico W, it may be worth spending a little more money on a Pico W for future expansion. | |
| Microcontroller: 5v, 16MHz Part Number: Pro Micro Quantity: 1 (Required) | This is the microcontroller that most people use for their Gun4IR build. If you need both navigational controls and and RGB LED, you should buy the 32u4 ItsyBItsy instead. | |
| Microcontroller: 5v, 16MHz Part Number: Adafruit ItsyBitsy 32u4 Quantity: 1 (Required) | Use this microcontroller if you need navigational controls AND an RGB LED on the same Gun4IR build. The standard Pro Micro only supports one or the other | |
| Microswitch: Arcade style Part Number: D44X Quantity: 1 (Required) | Trigger switch. The 75g Cherry D44X is recommended but any standard size arcade microswitch will suffice. The microswitch lever (if any) must be removed before installing. | t-molding.com |
| MOSFET driver module for solenoid Part Number: FR120N Quantity: 1 (Required) | This will work with 5v microcontrollers (e.g. pro micro) and 3.3v microcontrollers (e.g. pi pico) | |
| NeoPixel RGB LED Part Number: WS27212B Quantity: 1 (Optional) | For use with OpenFIRE firmware only. One NeoPixel is required for mode indicator. 3 NeoPixels are required if using illuminated sights. | |
| OLED Display: 0.96″ I2C 128×64 Part Number: “New” Quantity: 1 (Optional) | Be sure to select “New” rather than “Original”. The “Original” version should work but has not been tested. | AliExpress |
| On/Off Slide Switch for Back Quantity: 1 (Optional) | If you are going to use the sliding switch option in the back of you lightgun. | |
| Pro Micro: 5v 16MHz Quantity: 1 (Required) | This is a 3-pack. Most makers will build more than one lightgun. | |
| Push Button Kit: 12x12mm Quantity: 1 (Required) | | |
| Red Dot Gun Sight Quantity: 1 (Optional) | If you gotta have optics! | |
| Solenoid: 12V or 24V Part Number: JF-1039 Quantity: 1 (Required) | Buying a solenoid with the “B” indicator includes a back pin. The back pin is useful (but not necessary) when testing the operation of the solenoid but should be removed during the build. | AliExpress |
| Solenoid Power Supply: 12V Quantity: 1 (Required) | If you are using a 12 volt solenoid. You should be able to run 2 lightguns from a single 5 amp power supply | |
| Solenoid Power Supply: 24V Quantity: 1 (Required) | If you are using a 24 volt solenoid. You should be able to run 2 lightguns from a single 5 amp power supply | |
| Temperature Sensor Part Number: TMP36 Quantity: 1 (Required) | Measures solenoid temperature | |
| Vibration Motor: 12mm x 20mm Part Number: 1220 Quantity: 1 (Required) | AliExpress | |
| Heat Shrink Tubing Kit Quantity: 1 (Optional) | | |
| Hookup Wire: 28AWG Stranded Quantity: 1 (Required) | Easy to use silicone wire kit. Can be used for all low current wire connections except solenoid power. 10 colors helps identify wires. | |
| Hookup Wire: 22AWG Stranded Quantity: 1 (Required) | Heavier gauge wire for solenoid power. Needed to connect GX-16 to solenoid driver circuit. | |
| Filament: Clear Quantity: 1 (Required) | If you are building a lightgun with illuminated gun sights. Can also be used as an RGB diffuser in the back of the frame or when mounting an RGB LED in the top of the frame by the OLED window | |
| 3.5mm Headphone Jack Quantity: 1 (Optional) | If you want to connect a foot pedal (or two!) directly to your PiCON | AliExpress |
| Expandable Sleeving: 3/8″ Quantity: 1 (Required) | For making cables. Bundles individual USB and solenoid power (and pedal) into one. | |
| GX16 8 Pin Aviation Connector Quantity: 1 (Optional) | 8 pin connector recommended for USB (4 pins), solenoid power (2 pins) and foot pedal (2 pins) | Aliexpress (Global) |
| Micro USB Cable: 3m (10′) Quantity: 1 (Required) | | |
| Solenoid Power Extension Cable: 3m (10′) Quantity: 1 (Required) | This cable has 5.5mm x 2.1mm barrel connectors | |
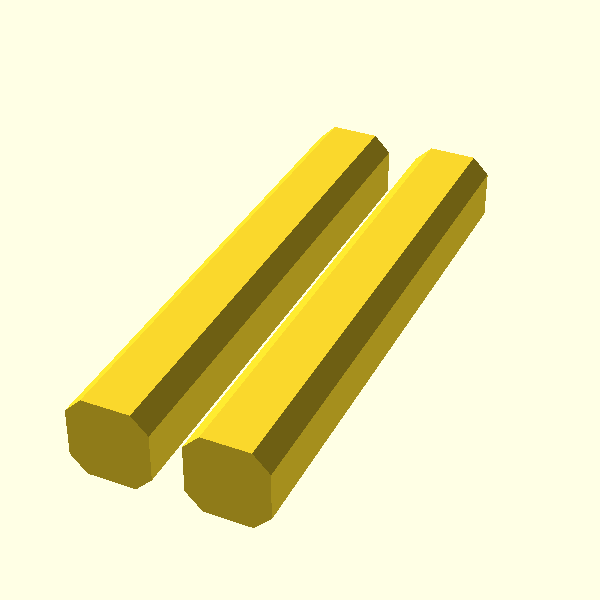
| Linear Rail: 40mm x 9mm Part Number: LML9B Quantity: 1 (Required) | Cheap linear rails are notoriously low quality. You may want to consider purchasing from Amazon to make the return process easier. If you do purchase from AliExpress, consider purchasing more than one in case there is a problem. | AliExpress |
| Tension Spring: 0.4 x 4mm Quantity: 1 (Required) | Pump return spring. Be sure to select the correct spring size before ordering. | AliExpress |
| Camera Lens Kit Quantity: 1 (Required) | Kit includes a wide angle lens, fish eye lens and a lens mounting clip | AliExpress |
| PiCON Build Guide 1/3 – Getting Started by iCON Updated on March 12, 2024 at 2:41 pm | View the step-by-step build guide |
| PiCON Build Guide 2/3 – Postprocessing & Heat Set Inserts by iCON Updated on March 12, 2024 at 4:22 pm | View the step-by-step build guide |
| PiCON Build Guide 3/3 – Assembly by iCON Updated on March 12, 2024 at 4:22 pm | View the step-by-step build guide |

Coming soon. For now, join the DIY Lightgun discord server!
Coming soon
Coming soon
Updated on March 12, 2024 at 4:22 pm View the step-by-step build guide
Updated on March 12, 2024 at 4:22 pm View the step-by-step build guide
Updated on March 12, 2024 at 2:41 pm View the step-by-step build guide
Coming soon. For now, join the DIY Lightgun discord server!
Coming soon
Coming soon