DF Robot Cable Stripper
Added by iCON on March 8, 2024iCON
Say thanks by giving iCON a tip! Why?

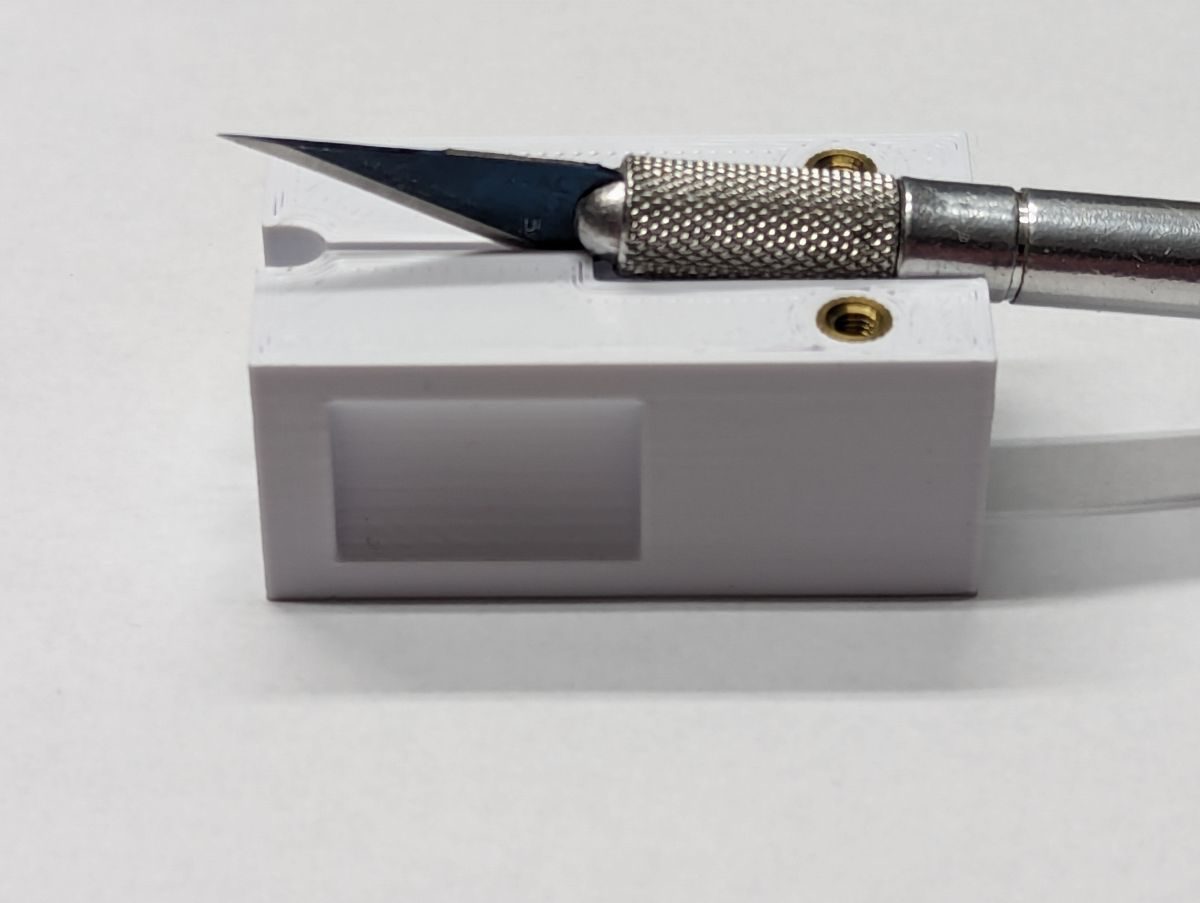
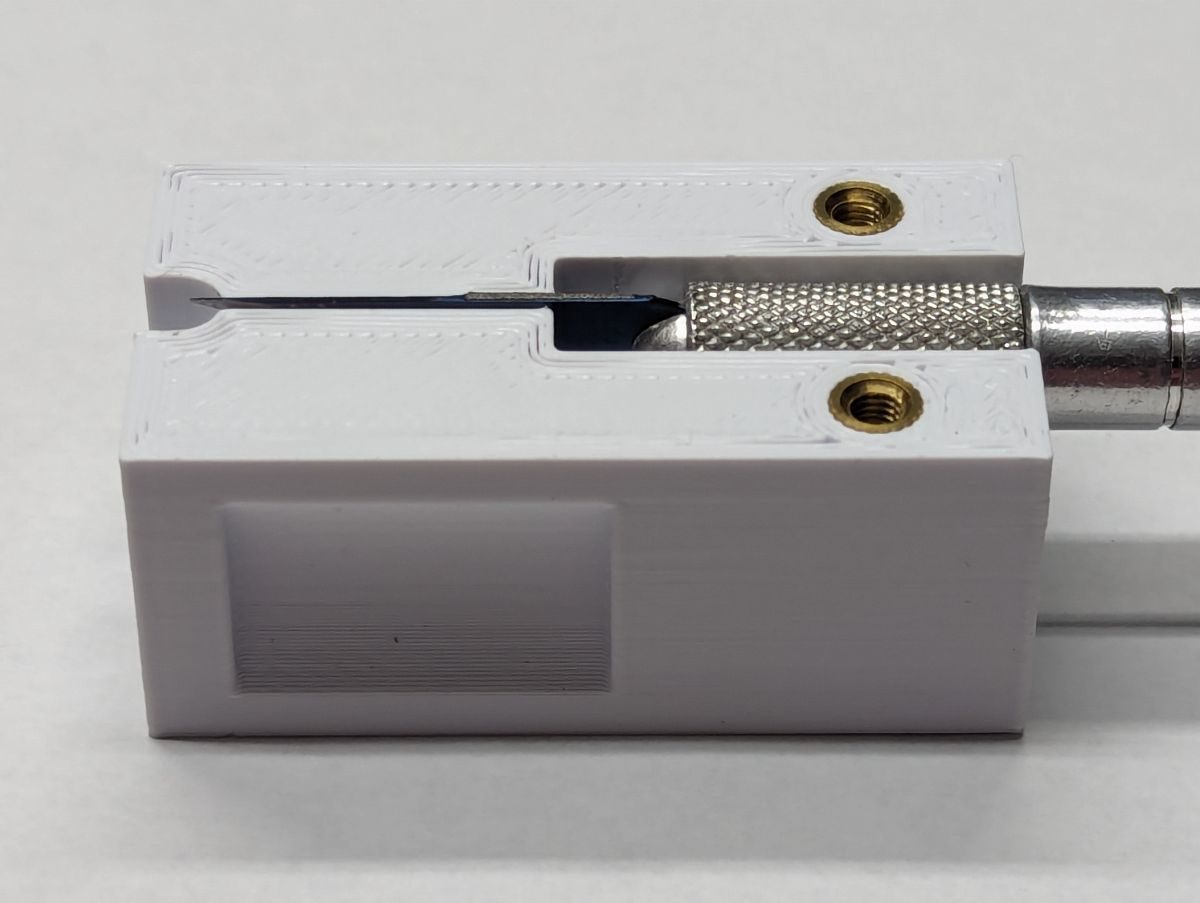
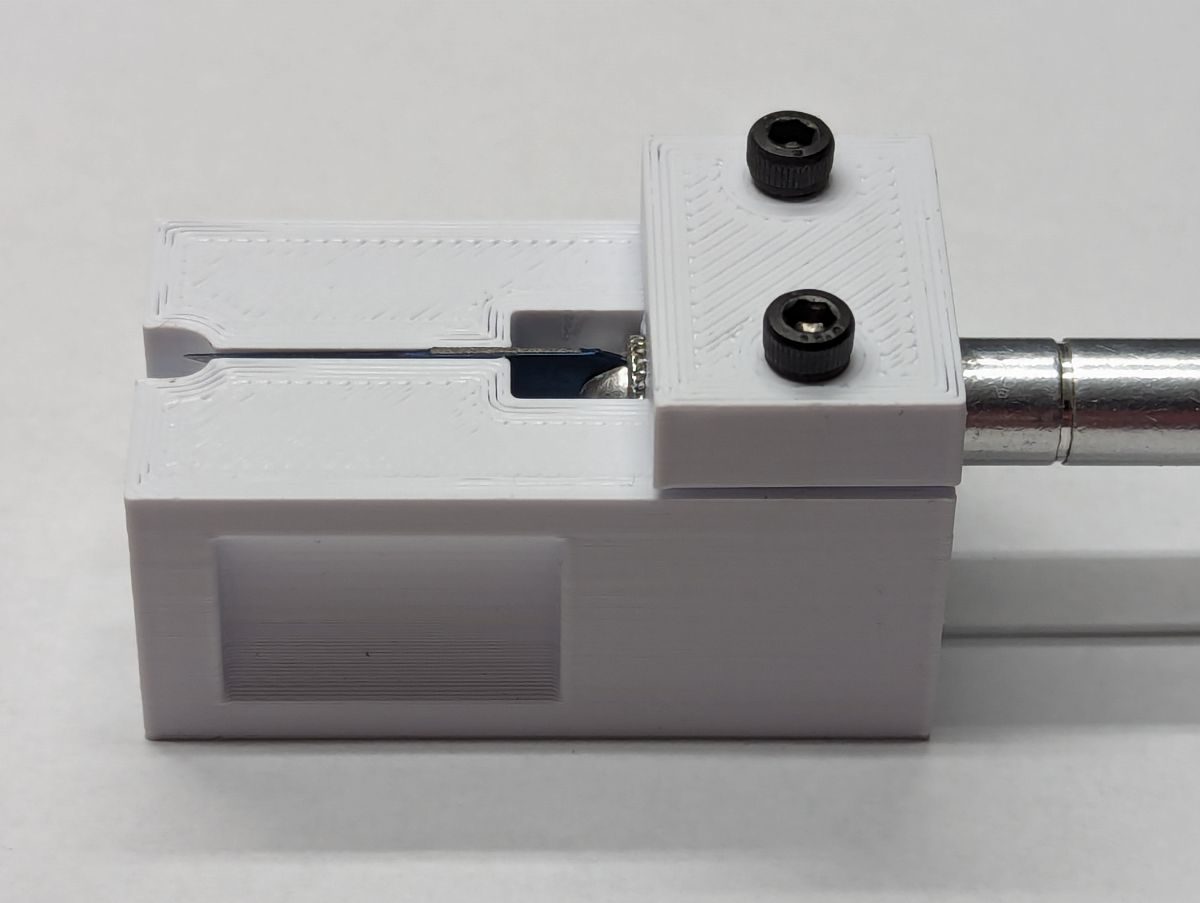
Lay the Xacto knife in the Knife Holder with the sharp edge pointing inward as shown. Push the knife down so more of the blade is exposed in the cable channel. Using (2) M3x12 screws to loosely fasten the Knife Clamp to the Knife Holder. If you did not install heat set inserts, use (2) M3x30 screws with nuts to secure the Knife Clamp. The Xacto knife should still be able to move up and down.
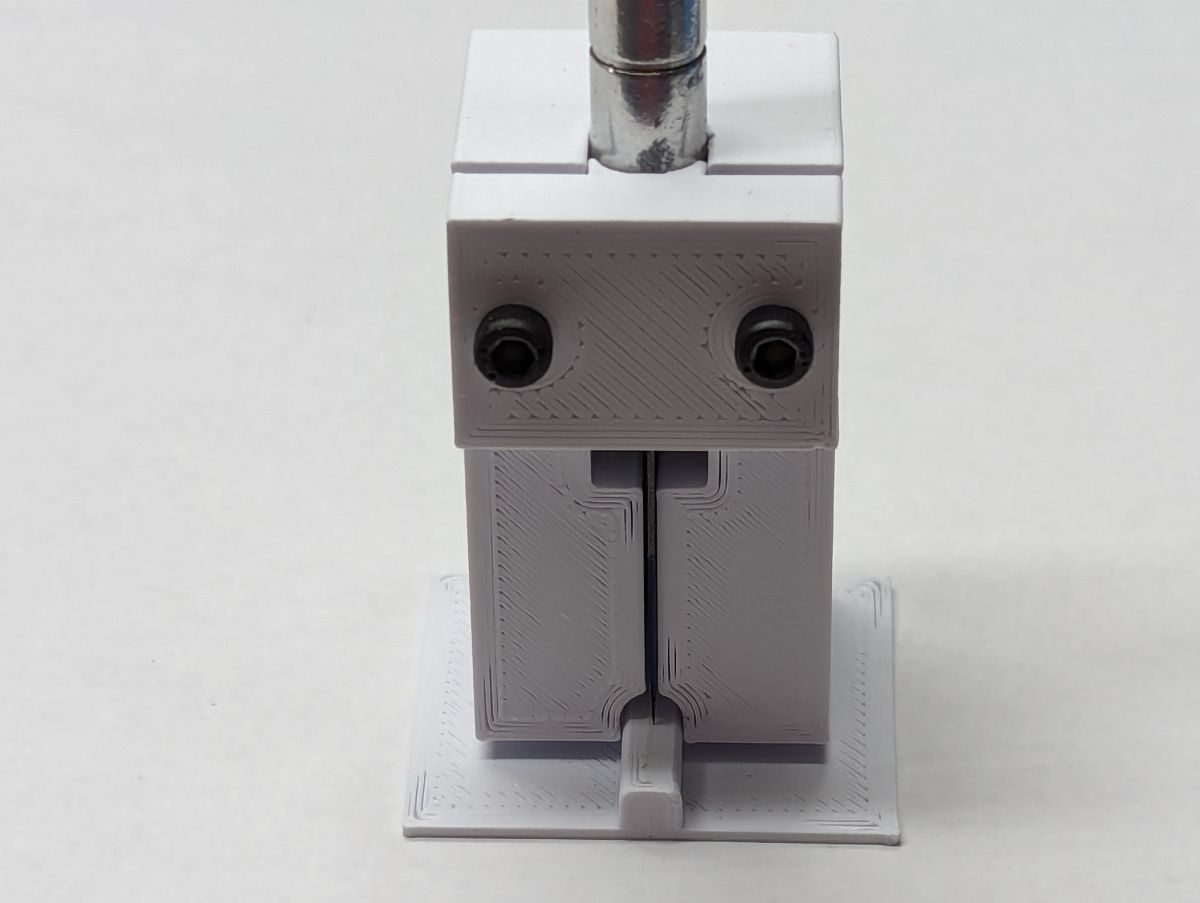
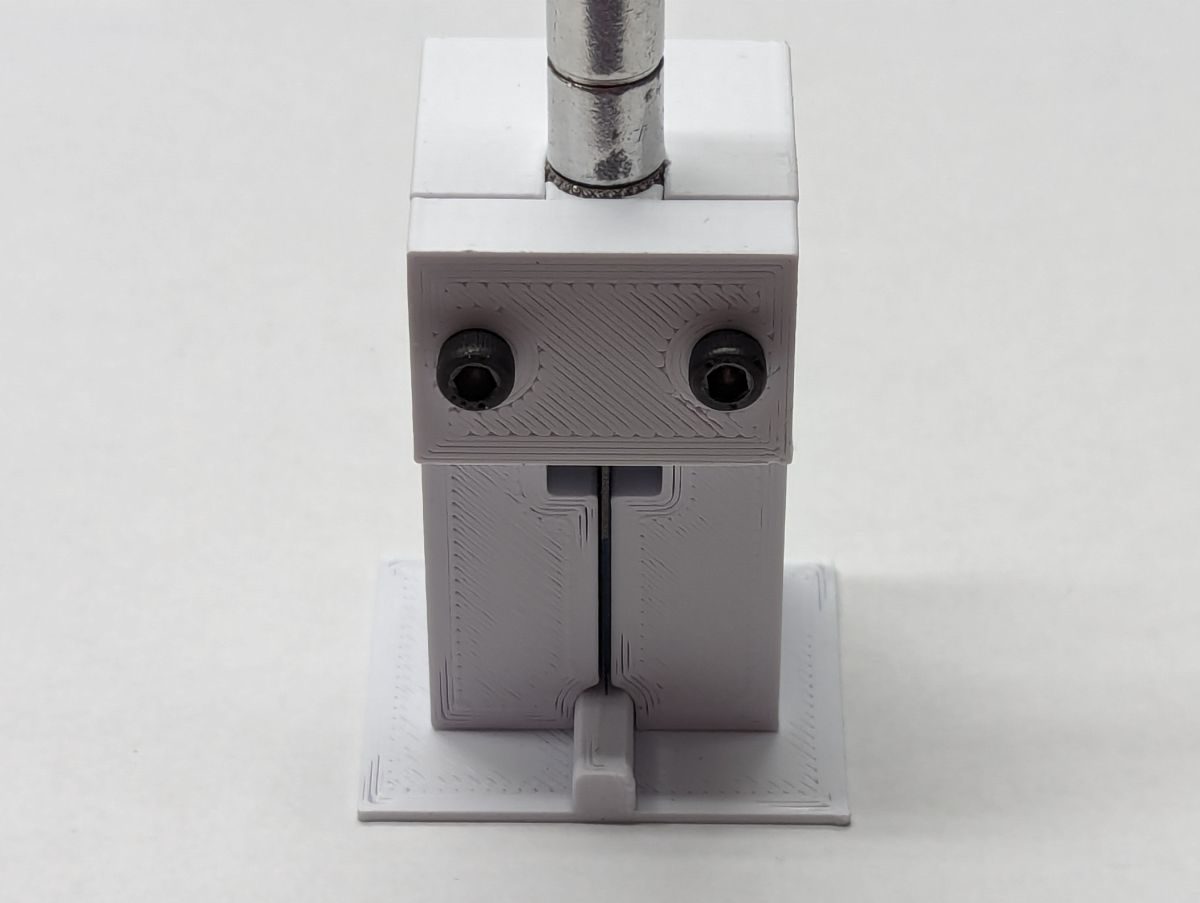
Rest the Knife Holder on the Gauge Block. The tip of the knife should be low enough that a gap is formed between the Gauge Block and the Knife Holder. Gently press down on the Knife Holder to set the blade at the correct depth. Tighten the Knife Clamp screws to hold the Xacto knife in place.
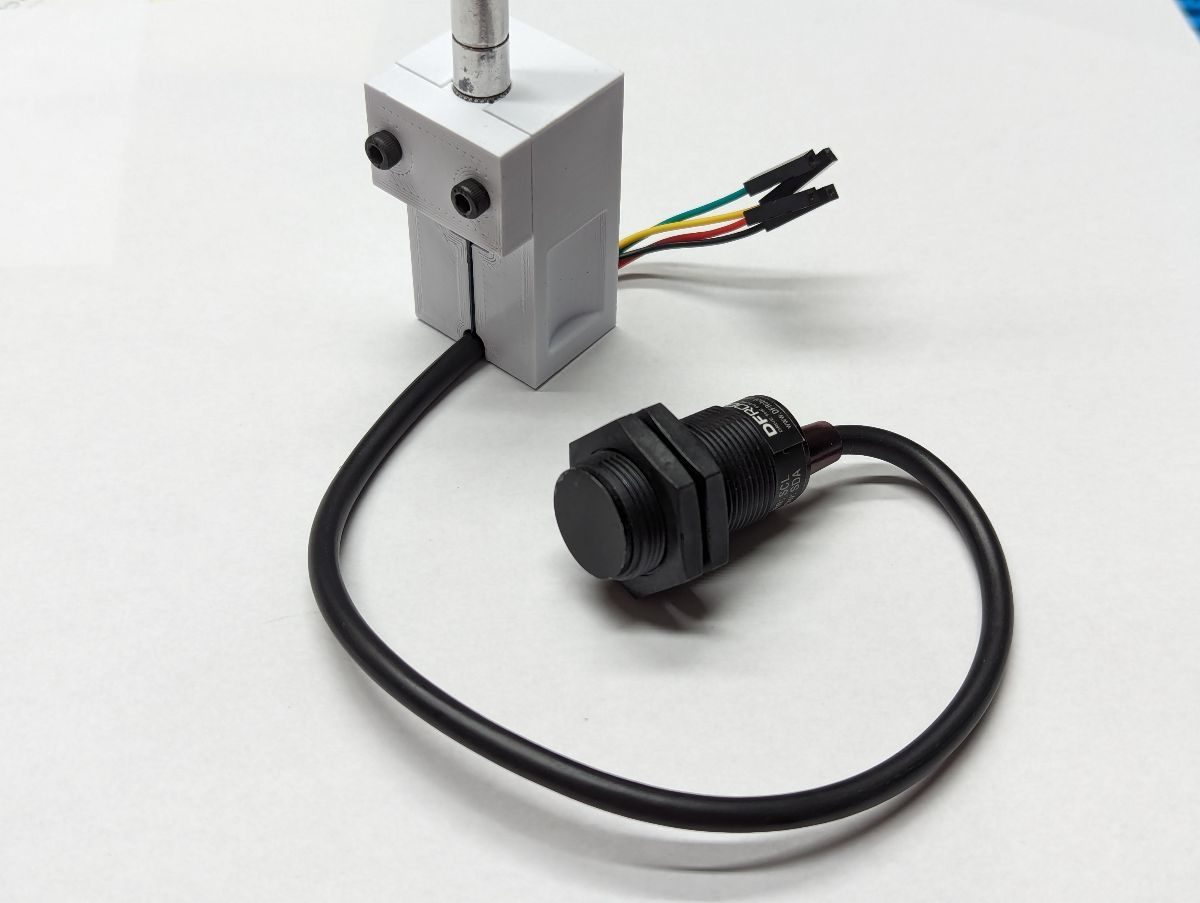
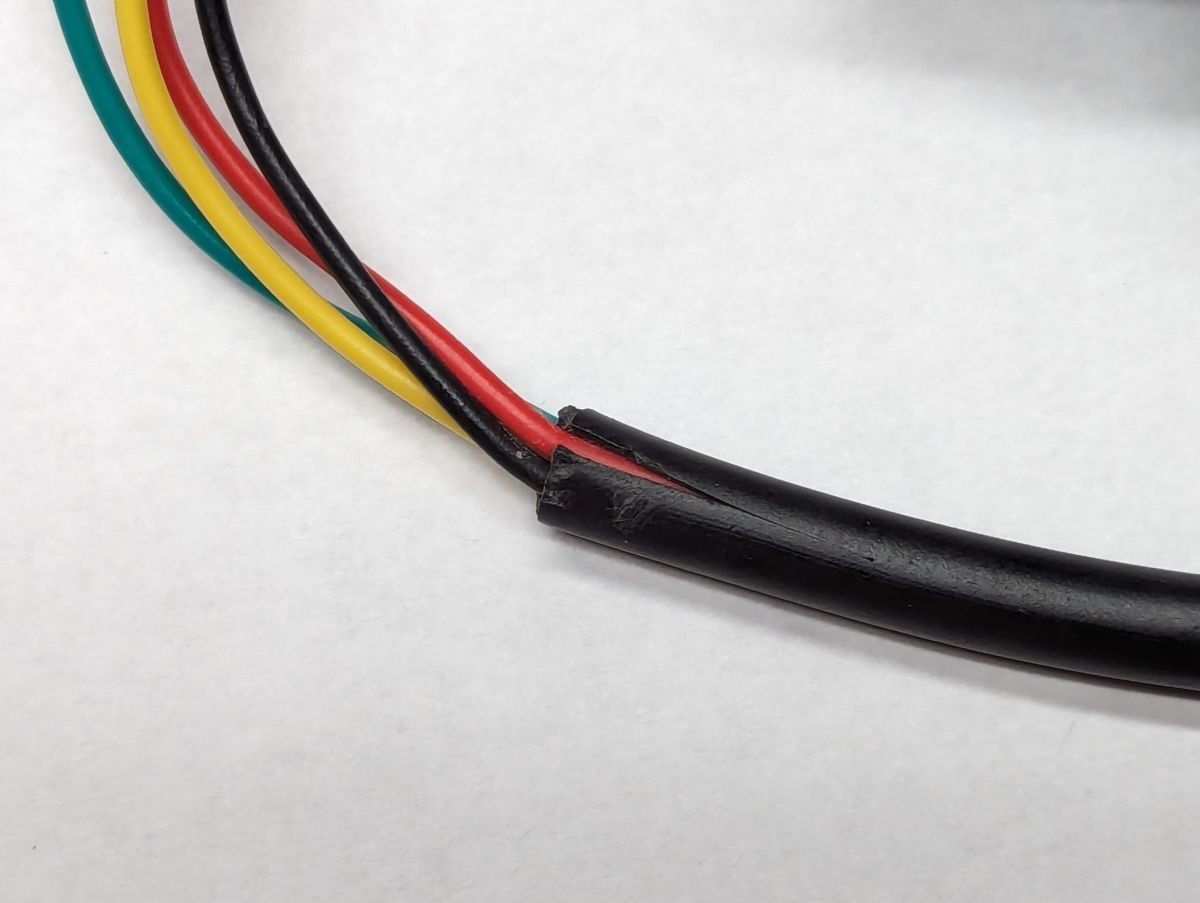
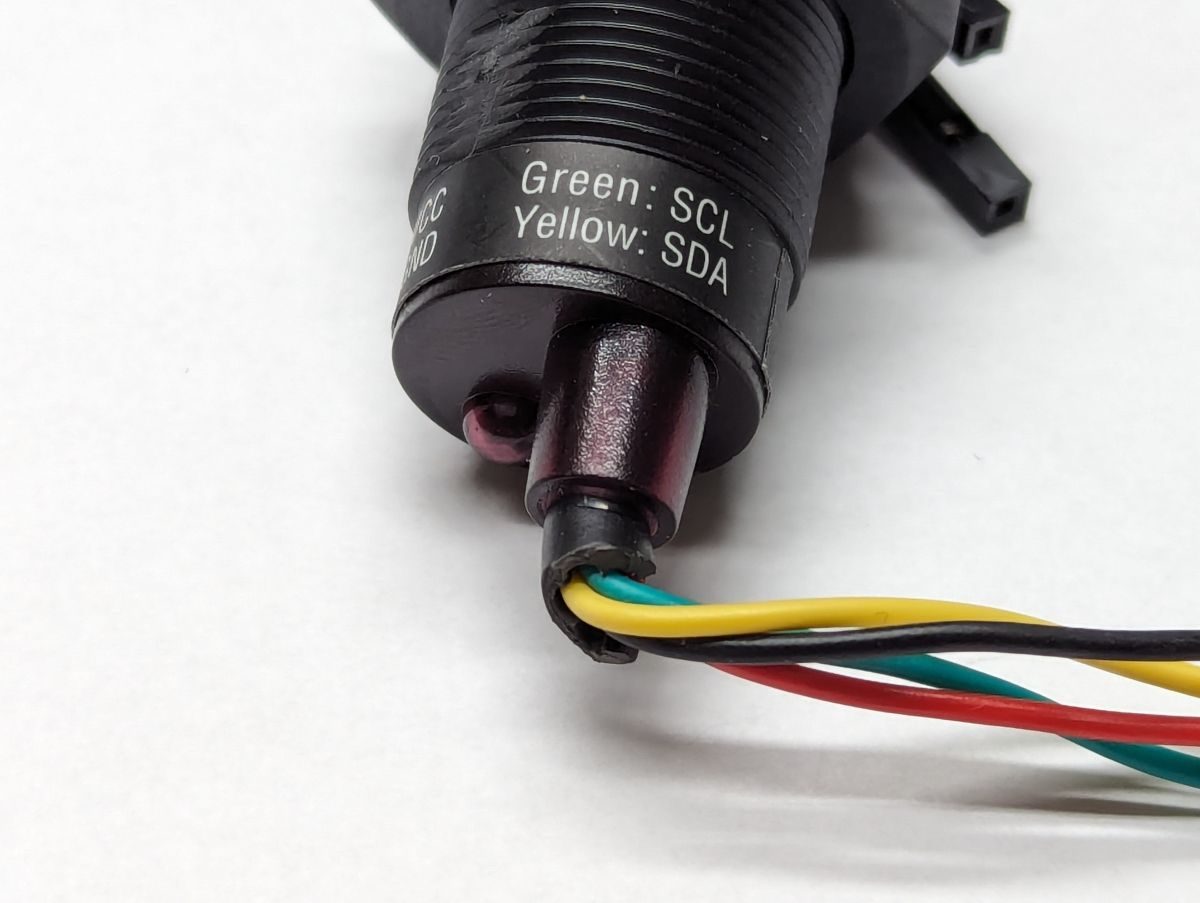
Place the end of the DF Robot camera cable under the Knife Holder as shown about 12mm (1/2″) from the end of the black insulation. Push down on the Knife Holder and gently pull the cable through the Knife Holder. Separate the black insulation at the slit that was formed and verify that the wires inside were not damaged.
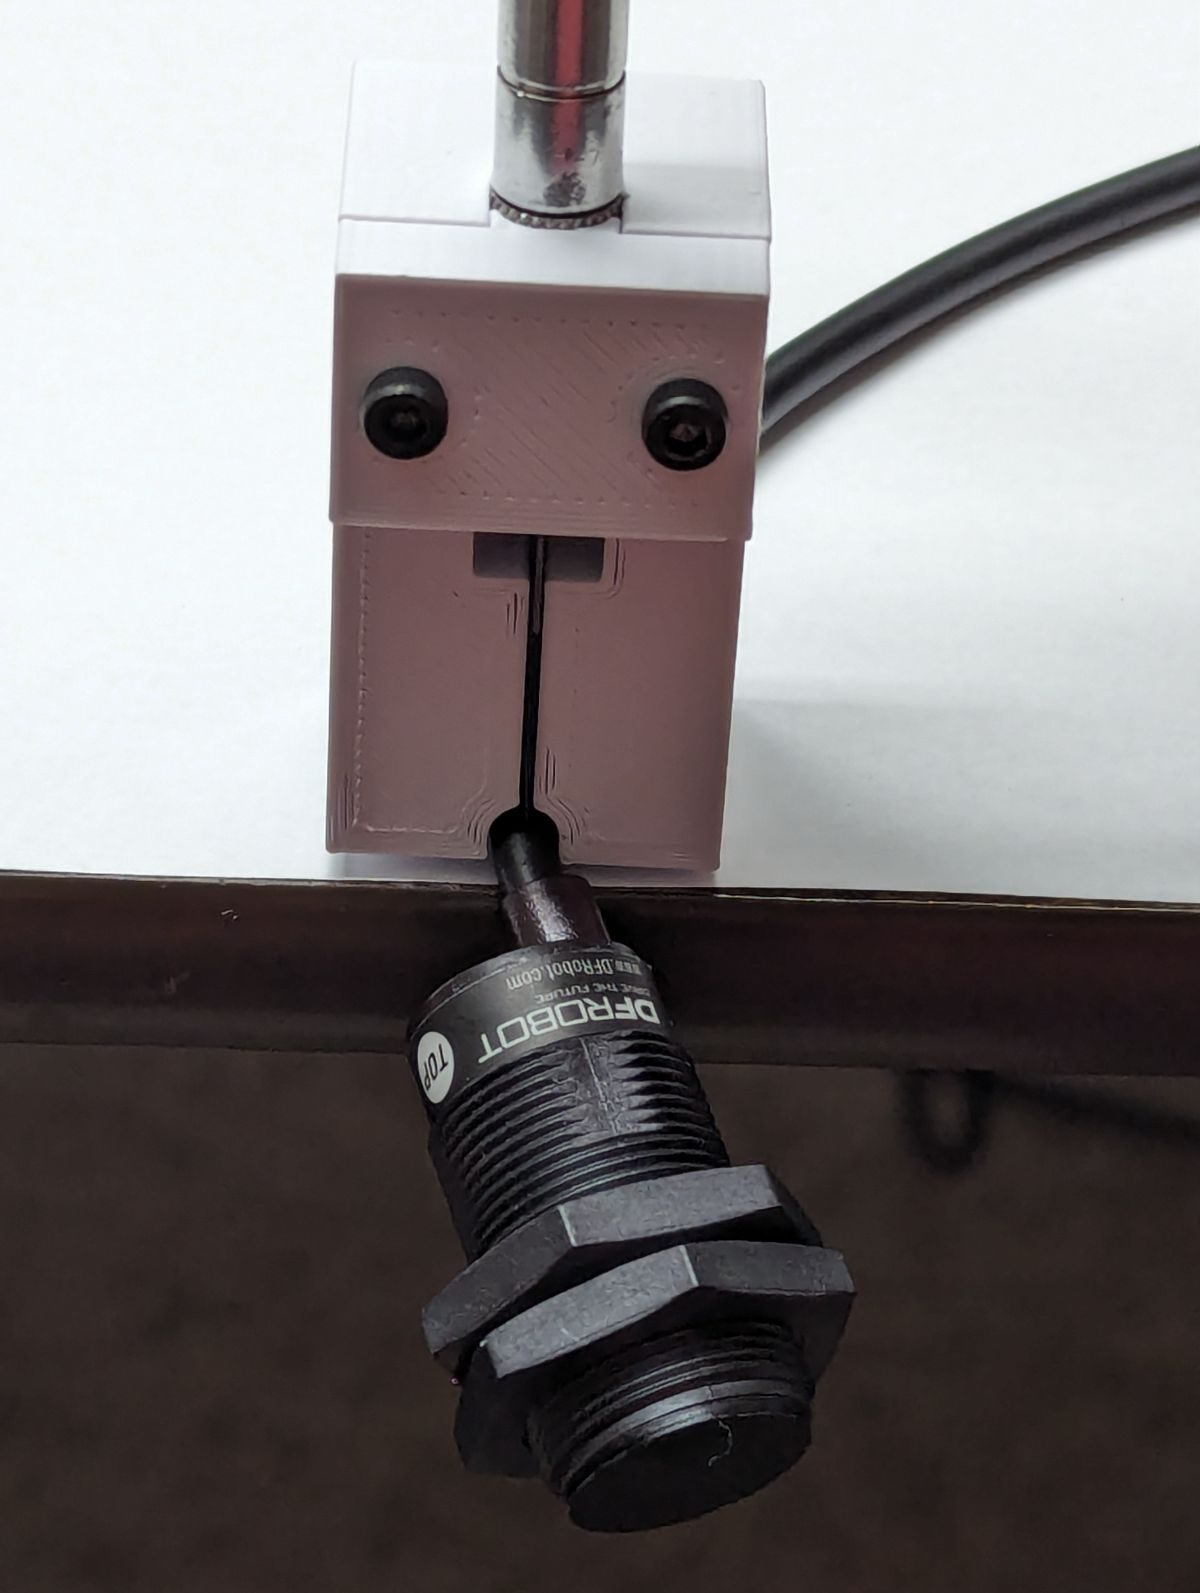
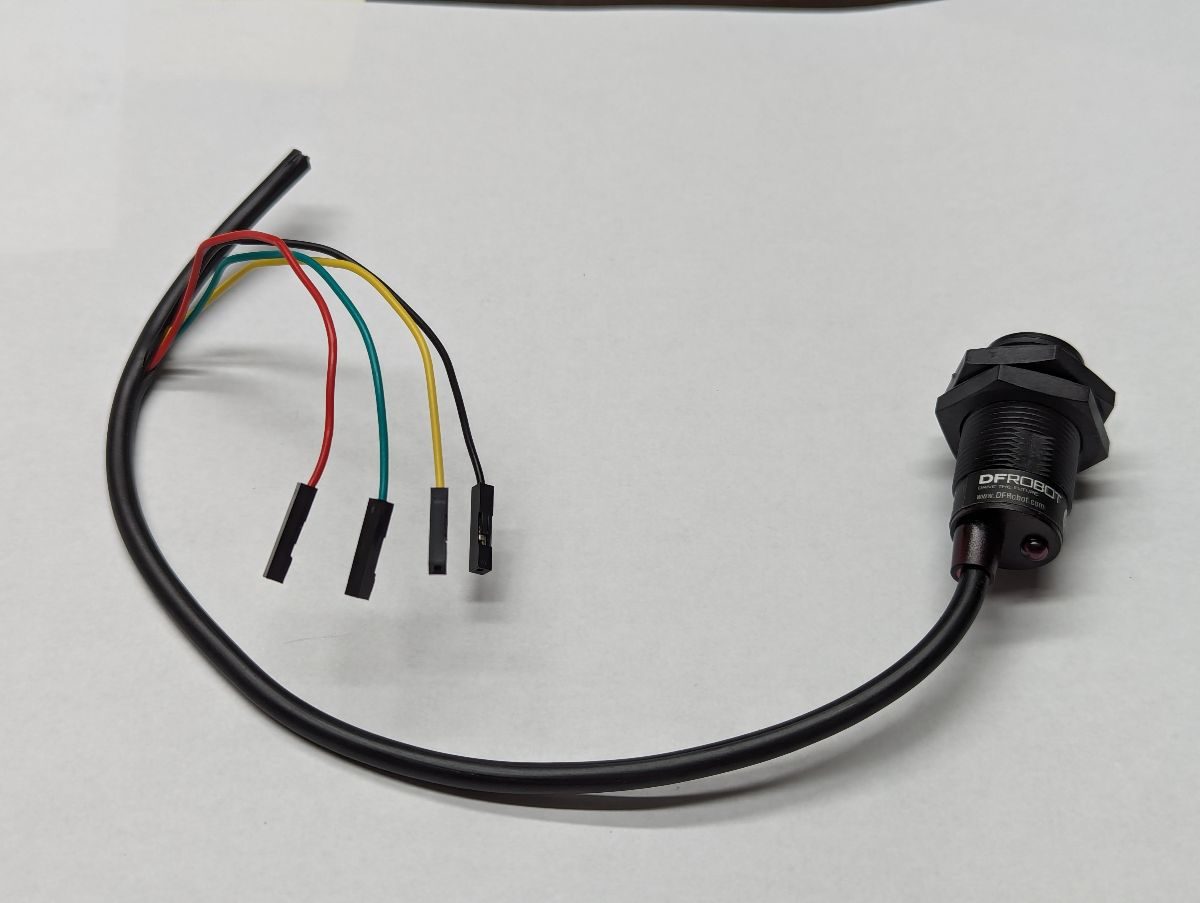
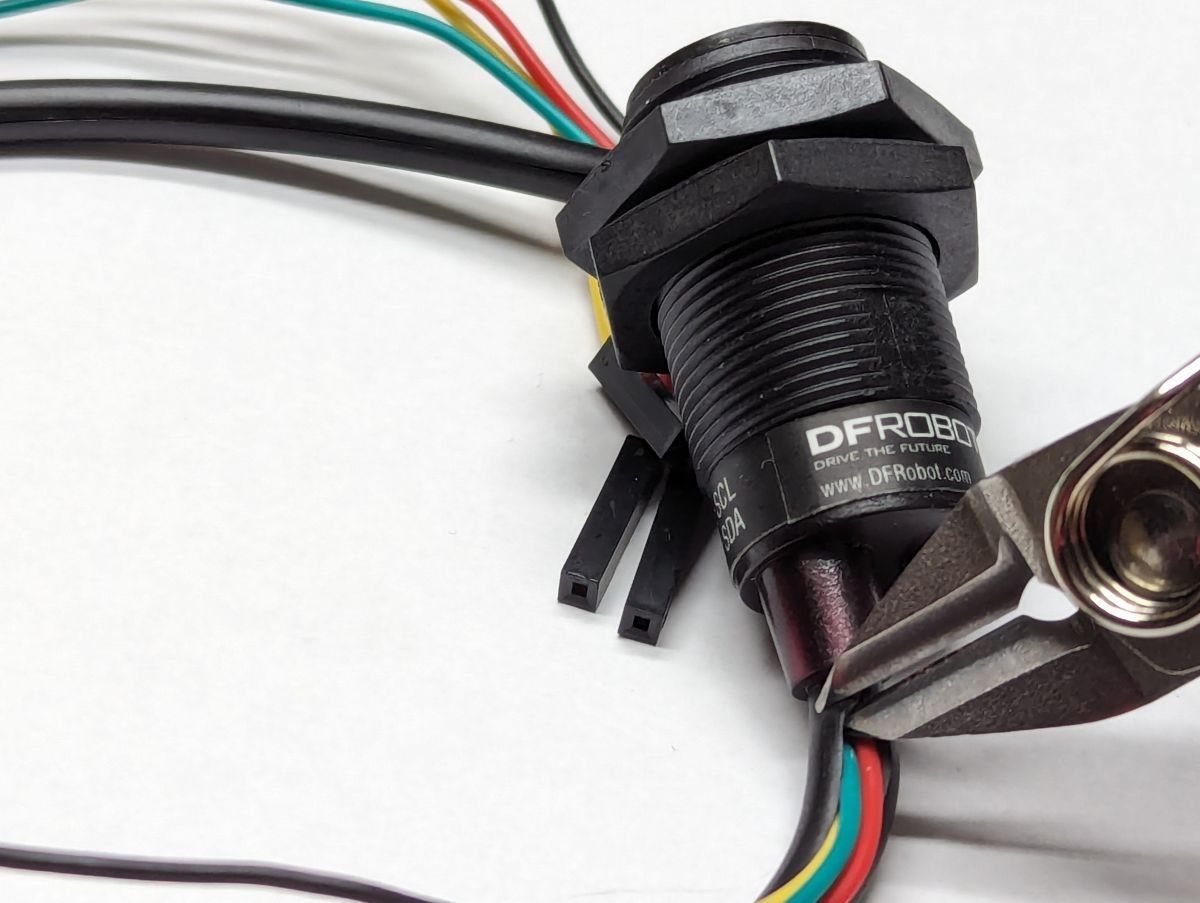
Place the camera over the edge of a table as shown. Place the Knife Holder over the cable and press down. Carefully pull the entire length of the camera cable through the Knife Holder. Pull the end of the black insulation apart at the slit that was just cut. Grab all 4 wires and gently pull the wires through the slit a little at a time. Be careful as you approach the camera body to avoid damaging the camera.